I’ve decided not to show you the top-bar hive I built yet. I’ll tell you about it first and let the anticipation build and build.
Jerod’s hive required a lot of tools: Table saw, hand-held circular saw, jig saw, drill, electric sander. Over the course of the two days it took to build the hive, we burned out the motor on the table saw (hey! it was old!), and we busted a number of drill bits.
I chose to build the kind of top-bar hive that requires no power tools (although I did use a couple). The Kenya Top-Bar Hive was designed for simplicity because it’s designed to be used in developing areas where there’s no electricity. It can be built in a few hours and it’s easy for two people to carry intact…even when it’s full of bees and honeycomb. It’s low profile. I love that idea. To keep it very simple, I chose to use plywood. I’ll try this with other woods as I get better at it.
I made my hive on a day when no one else was around. Just me and my hive out in the backyard.
My hive is a little off-kilter, though. Because we’d burned out the table saw, I had to cut long pieces (46″) using the hand-held circular saw. Let’s just say that my novice hands aren’t perfectly steady at this. So, the hive rocks like a cradle. Big deal.
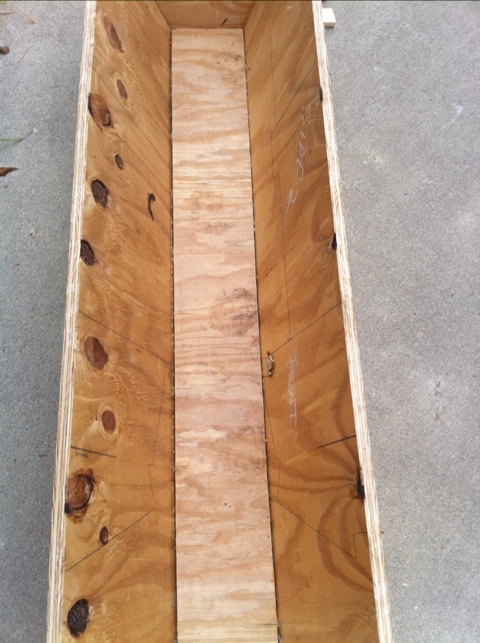
Below is a picture of the interior (I’d marked the wood as a pattern for the kind of hive Jerod’s built; then I abandoned it).
Tomorrow, I’ll show you the follower boards; I’ll also show you how I made comb guides on the top bars. I’m still searching for a piece of corrugated tin to use as the roof. Isn’t it fun to watch this come together?

